Photo-first walkthroughs
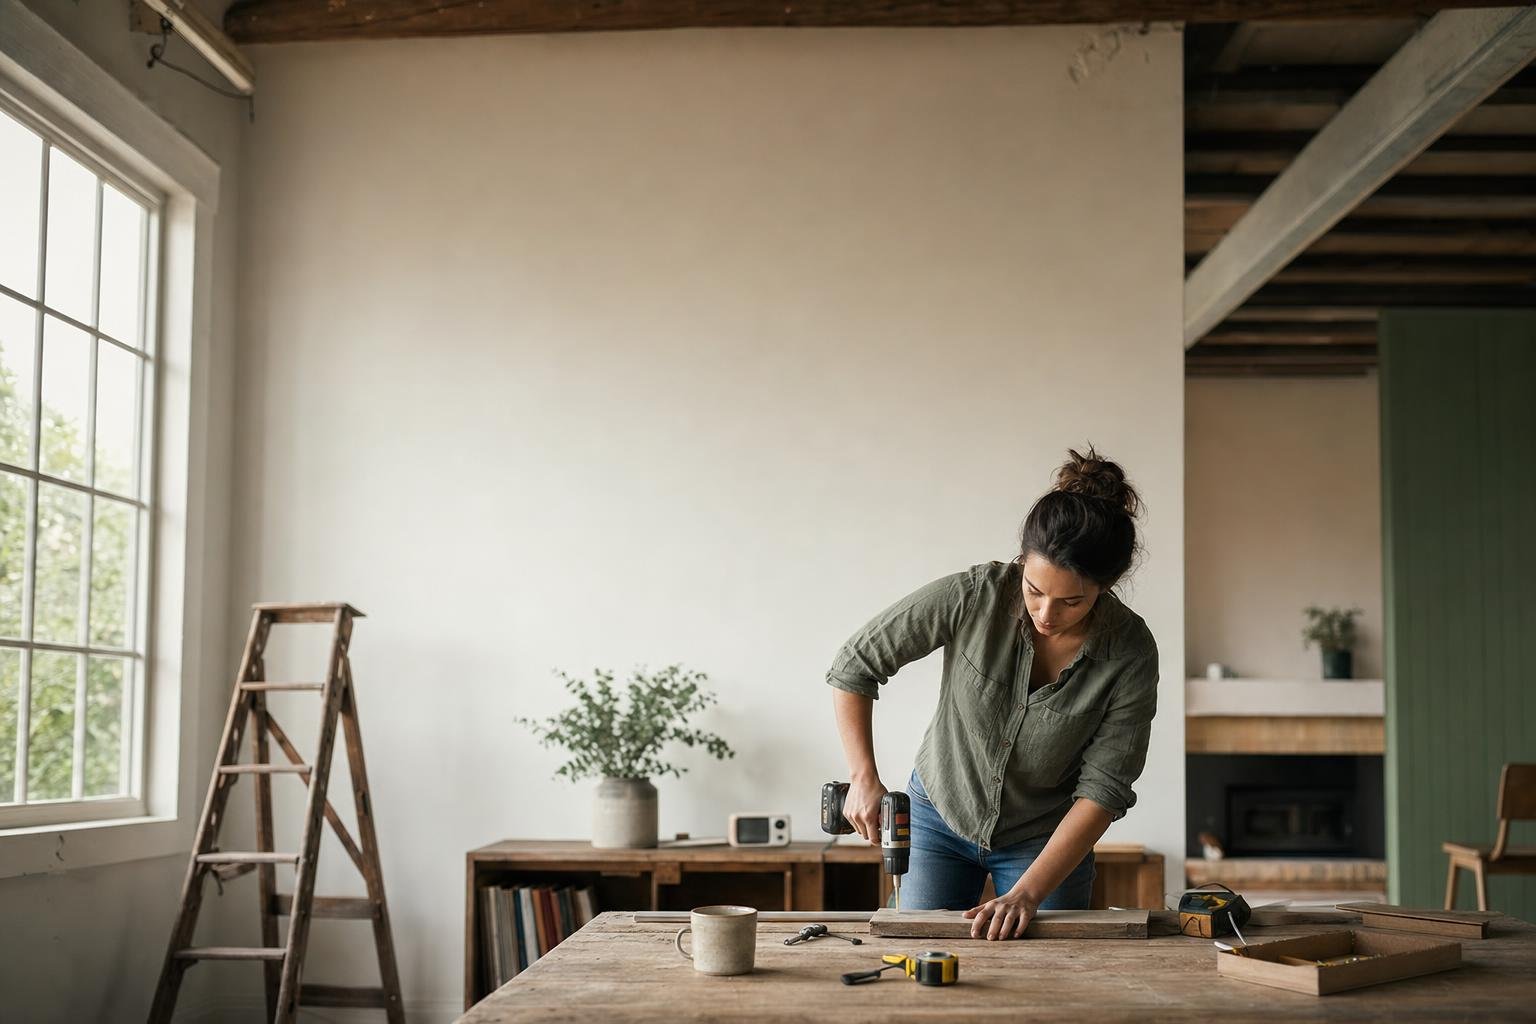
Every project leads with the images that show the build — full-width shots of each stage, not thumbnails. You see exactly what the step should look like before you read a word.
DIY & Home Improvement
Step-by-step projects, honest build notes, and clear photos for anyone ready to pick up a drill. Every guide is written to be followed — swap in your own tagline in a minute.
What you'll find here
Clear photos, real costs, and enough detail to finish the job — not just admire it. Every project on this site is a placeholder you can edit, delete, or replace with your own build.
Every project leads with the images that show the build — full-width shots of each stage, not thumbnails. You see exactly what the step should look like before you read a word.
What to buy, what to borrow, and what you can skip. Each guide lists the kit up front so you can gather everything before the first cut instead of mid-project.
From woodworking to plumbing to paint, projects are grouped by the kind of work they involve so readers can jump straight to the skill they want to build.
Honest material costs and how long each build actually takes. Set expectations up front so you start a weekend project on a weekend, not a whole month.
Notes captured while the glue was still drying, not rewritten from a manual. The small mistakes and fixes are what save you from making them yourself.
Kill the breaker, wear the glasses, test the fit. Most guides flag the one step where care matters most, so a good project never turns into a bad afternoon.
How each project comes together
A quick look at the rhythm behind each build — feel free to rewrite this section to describe your own process.
Step 01
Every project starts as a sketch, a cut list, and a cart full of hardware — the board feet of lumber, the right screws, the finish that suits the room. Nothing built yet, just the raw material and a clear plan.
Step 02
Then the work begins, one step at a time. We shoot each stage as it happens — the messy fits, the fixes, the moment it finally comes square — so the photos show the real build, not a staged after shot. The cover image sets the tone for the guide.
Step 03
A short summary, a category tag, and an honest time-to-build later, the project goes live on the manage screen. Readers browse by category, tap a card, and hopefully leave with one more thing they feel ready to make.
Projects
Tap any card to read the full step-by-step guide and see the photos. New projects appear here as they're published.
From fellow makers
Placeholder testimonials — replace these with real notes from the people who've followed your guides.
"I built the floating oak shelves over one weekend having never used a drill before. The bracket tip alone saved me — they hold a full row of cookbooks and you can't see a single screw."
Hannah R.
Built the floating shelves
"Honest, unfussy writing and photos that show the actual mess of a project instead of a perfect after shot. This is the first DIY blog I've bookmarked in years."
Marco B.
Following from Portland
"The running-toilet fix set my expectations perfectly — it really was a five-minute flapper swap. Cost me eight dollars and it hasn't hissed since."
Ji-eun K.
Fixed her toilet
Before you start
A few common questions from readers. Rewrite these answers to match how you actually build and share.
Absolutely. Everything here is placeholder content designed to be adapted. Treat each guide as a starting point — double-check measurements for your own space and follow the safety notes, especially on anything involving power tools, wiring, or plumbing.
Add your own projects and guides from the manage screen. This is your workshop journal to fill — one build at a time.